Monday, October 13, 2014

How to Arm Knit: Actually Knitting With Your Arms

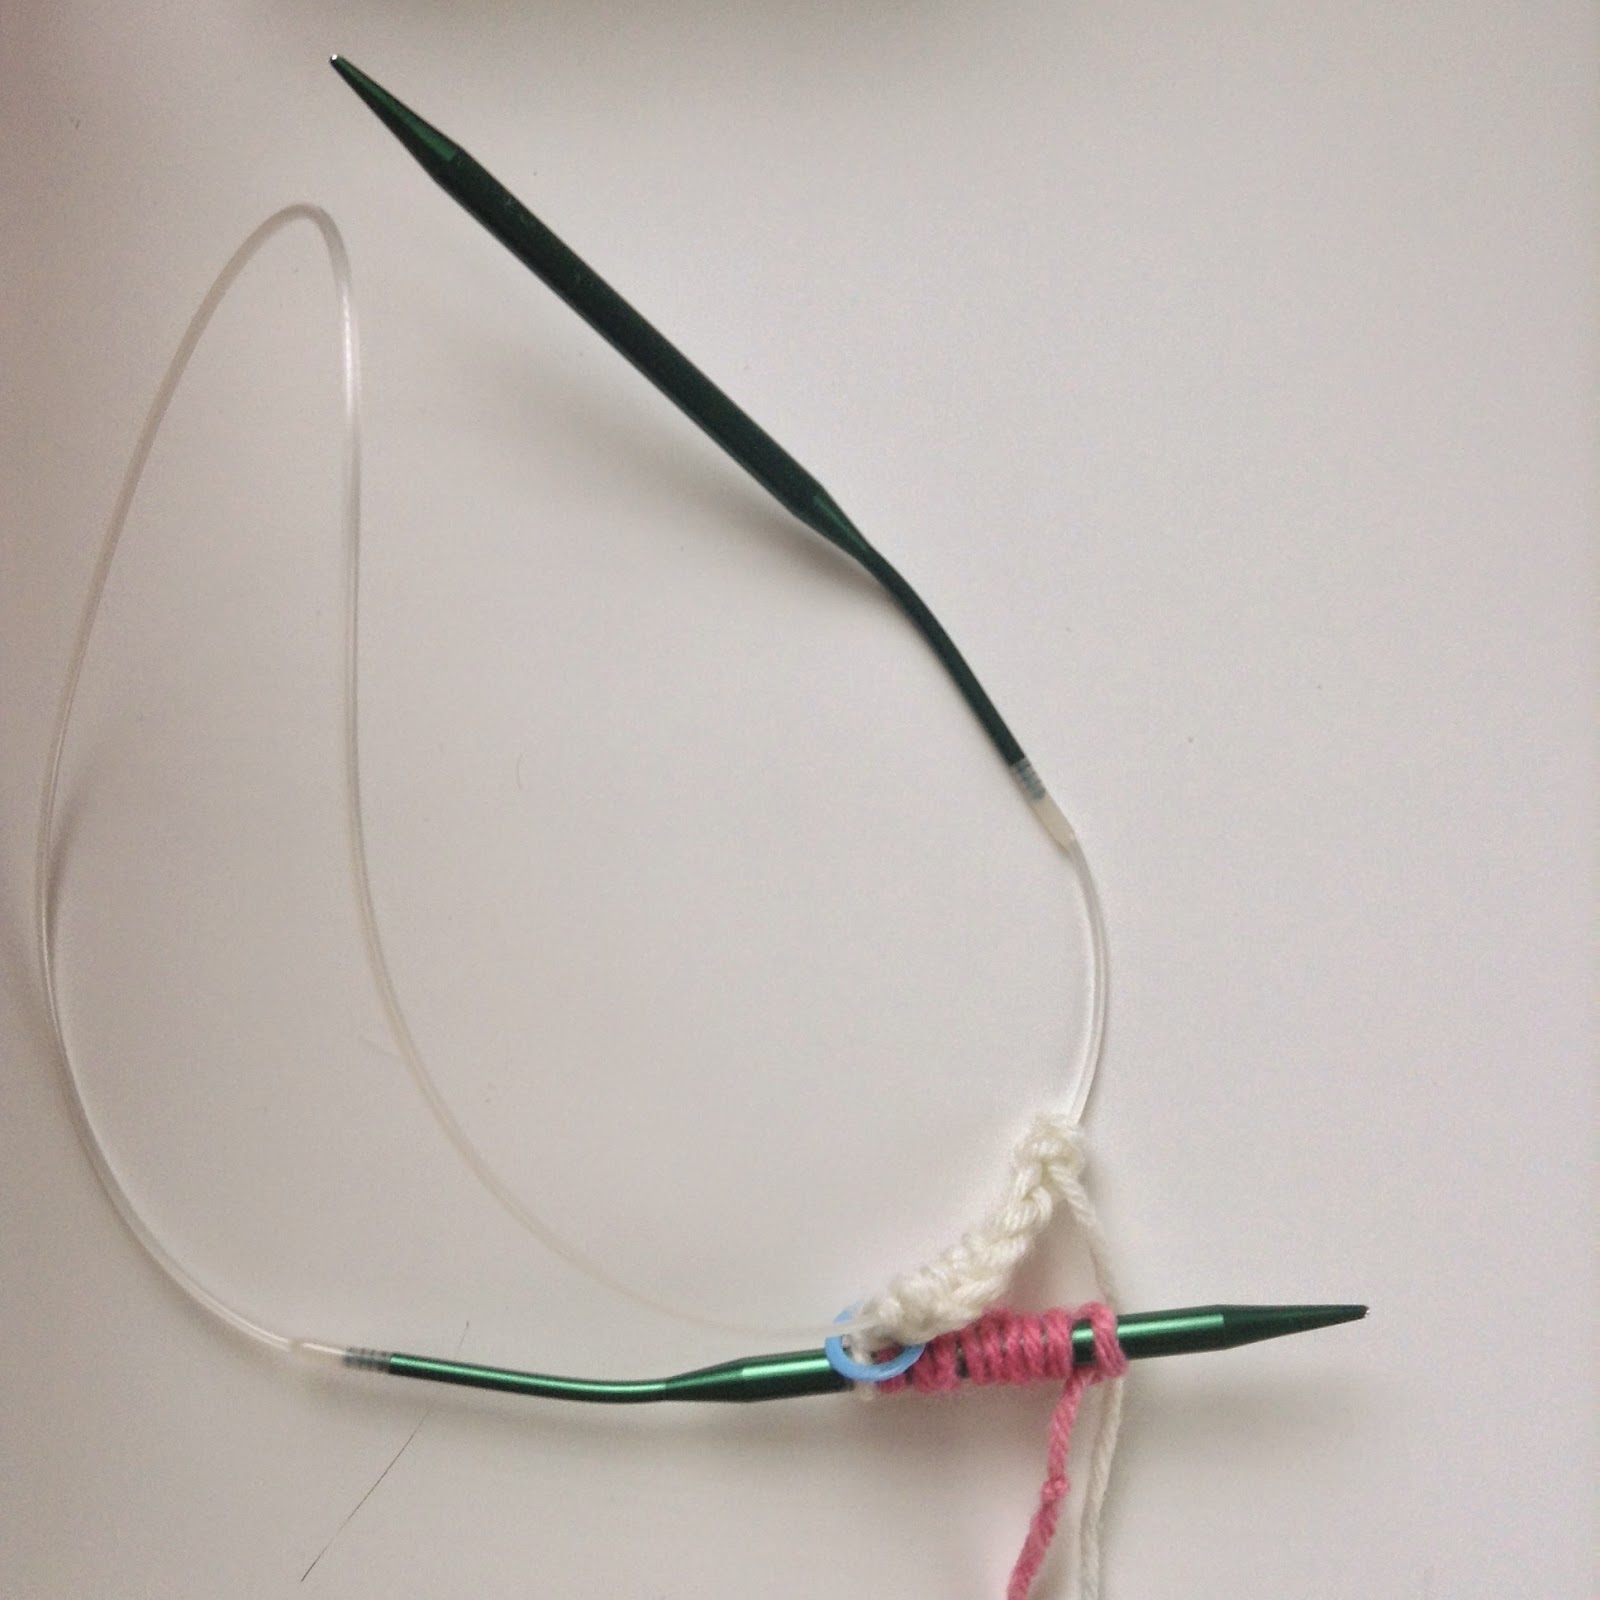
Knitting Off of Your Right Wrist:

     Drop the remaining length of tail and pick up your working yarn.     


     Pull the working yarn through the stitch you just cast on.


     If you don't mind your stitches being twisted, you can just slide the stitch on your left arm now.


 If you want it to look as if it was actually knitted on huge needles, you will have to learn how to properly place the stitches on your arms.

How to Untwist Your Stitches (this really isn't hard, I promise)

     To untwist your stitches, all you need to do is turn the stitch toward your left arm.


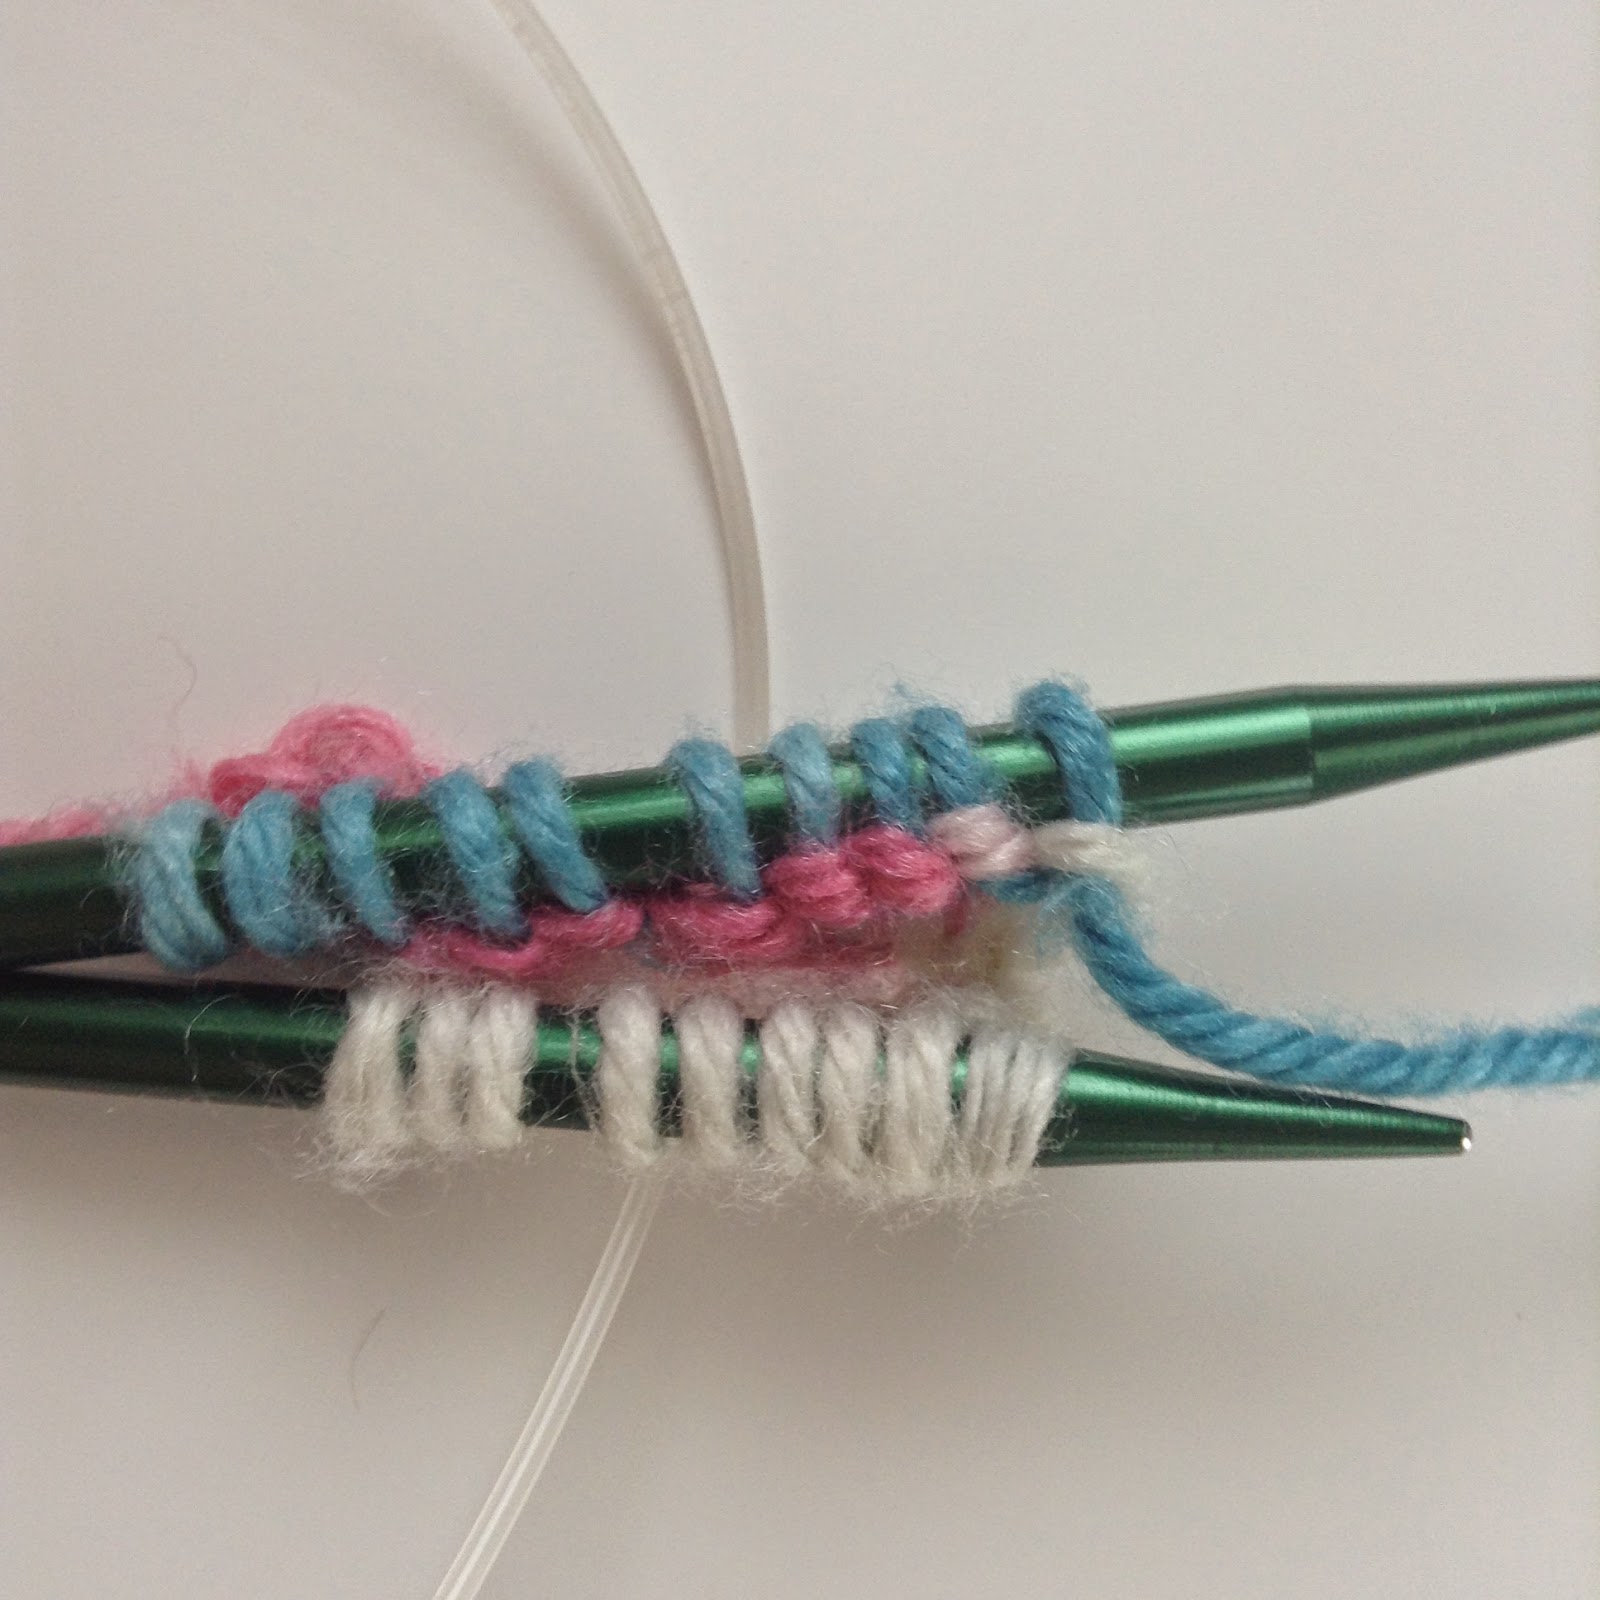
     Slide the untwisted stitch onto your left wrist and repeat until you have knitted all of the stitches previously on your right wrist. Your work will now look like this:


Knitting Off of Your Left Wrist:

     Place the working yarn in your left hand.


     Insert your right hand into the first stitch on your left wrist and grab the working yarn.


     Pull the working yarn through the stitch and off your left wrist. If you don't mind twisted stitches you can just slip the stitch onto your right wrist now.


   But if you do, simply turn the stitch toward your right arm and slide it onto your wrist.


     Repeat these steps until your project has reached your desired length.

     Congratulations! You now know how to knit with your arms! I will make another post on how to bind off soon.

Saturday, October 11, 2014

How to Arm Knit: Casting On

     Before I begin, I just have to say that arm knitting is very easy... It just has a lot of steps. In fact, it might be easier for you if you just went to How to Arm Knit an Infinity Scarf in 15 Minutes. But if you like printing off instructions, keep on reading.

     First, you will need several strands of bulky yarn. If you don't have bulky yarn (I don't for some reason) you will need to have twice the amount of strands. I did four strands of worsted yarn.


     Holding all of the strands together, pull a long tail and wrap it around your elbow and back up towards your thumb. Do this as many times as you like; each wrap-around will be about two stitches.


     Slide the tail off of your arm and onto a smooth surface.


     Make a slip knot, leaving the ridiculously long tail alone.


     Slide the slip knot onto your right wrist.


     Holding the working yarn behind your left hand, make an "L" shape with your index finger and thumb. Now grab the working yarn with your middle, ring, and pinky fingers.


     Point the "L" away from you and you will get a loop.


     Insert your right hand into that loop.


     Place the tail in your right hand and pull it through the loop.


     Slide the loop onto your wrist and repeat as necessary.


     You have now learned how to Cast On in Arm Knitting! Another post on how to actually knit with your arms will come soon.

Saturday, October 4, 2014

How to Finger Knit

     Finger knitting is mainly used for straps, belts, or just entertaining children when they are sitting and doing nothing. Because it uses four fingers, anything made with this method has only four stitches.
     To begin, lay a tail of yarn between your thumb and index finger. Keep it stationary with your thumb.


     Move your yarn behind your index finger and in front of all of your other fingers.


     Weave it in front of your middle finger, behind your ring finger, and in front of your little finger.


     Move your yarn behind your little finger and in front of all of your other fingers.


     Now weave the yarn in front of your ring finger, behind your middle finger, and in front of your index finger.


     Move the yarn behind your index finger, in front of your middle finger, behind your ring finger, and in front of your little finger.


     Weave the yarn back one more time through your fingers. You will have two loops around each finger (see below).


     Starting with your index finger, pull the bottom loop over the top loop.


     You will have one loop on your index finger. Now, continue this with the loops on the rest of your fingers.
      When you're done with that, all you have to do is repeat the steps over and over again until your finger knitted piece has reached your desired length! Your work should look somewhat like this.


Tuesday, September 23, 2014

How to: Magic Loop

     The magic loop is a method of knitting something that is small in the round on a large circular needle. This is VERY helpful when you want to make a hat or a sock, but all of the cables on your circular needles are just too large for your project.

     To begin, you will need a circular needle about 20" long or so.


     Cast on a number of stitches that is divisible by two. I did twenty.


     Carefully slide all of the cast on stitches to the middle of your cable.


     Divide your stitches into two halves. You can place a marker in between the two stitches in the middle, if you like.


     Grab the cable and pull it through the gap between both halves where you placed the stitch marker.


     Slide the stitches you cast on first onto your left-hand needle, leaving the other stitches on the cable.


     Knit all of the stitches on the left-hand needle.


     It should look like this.


     Slide the stitches that are on the cable onto the left-hand needle.


     Now slide all of the stitches from the right-hand needle onto the cable.


     Knit all of the stitches off of the left-hand needle and you have finished one round! After several rounds, your work should look like this.


     Watch this video for clarification: Knitting in the Round - Magic Loop - YouTube

Thursday, September 18, 2014

How to Change Colors: Tunisian Crochet

    Tunisian colorwork is very different from crocheted intarsia. It is slightly more complicated, but is fairly easy once you get the gist. You can follow charts exactly the same as you would normally and get a completely different look! 

     This is the chart I followed:


Here is my swatch:


     To begin, crochet up to the point that you wish to change colors.


     Insert your afghan hook into the stitch where you intend to change colors.


Grab your new color of yarn and make a long tail (preferably 2 or 3 inches long).


     Holding the tail at the back of your work, wrap the yarn around your hook and pull it through the stitch.


     Your stitch will look like this (except your tail will be in the back of your work, I pulled mine to the front to show its length).

     Continue changing colors as necessary across the forward pass until it is time to make a return pass.
     Do the return pass as you normally would, up to the point that the color of the vertical loops change. Then, wrap the two yarns around each other like you would with knitted intarsia (you will have to scroll down for the knitting instructions).

     Yarn over with your new color and continue the return pass, pulling the yarn through two loops at a time.


     If you would like to crochet a pattern that uses this technique, go to:Modern Leaf AfghanTulip Patch AfghanOne Ring to Rule Them All, and One Ring to Find Them


Tuesday, September 16, 2014

Feather Fluff

     Today, I have finished my second sweater! I have been working on it since about August tenth and, 50,133 stitches later, I am done! 
     Looking at all of the cables on it, you would think that it would be pretty difficult to knit, but really, it is a very simple pattern that is easy to memorize. 
     I absolutely love the yarn that I used (which is Caron Simply Soft Paints in Peacock Feather)! My only complaint about it is that it is HEAVY. The weight of the sweater, however, is not going to deter me from wearing it this winter!


     If you would like to make this sweater, go to: projects.hobbylobby.com/media/hl-689281.pdf for the free pattern!