Friday, June 27, 2014

A Sweater in Summertime (Shocking, I Know!)

     I have finally completed my first sweater project (yes, I know it's summertime)! It was originally a Weasley sweater, but I adapted the pattern to go with the yarn I had. I am definitely pleased with the way that it turned out!
     I made it toddler sized for Gabriel but he didn't want to pose for a picture. So here is what it looks like laid flat!


     If you would like to make a sweater similar to this, go to: Weasley Sweater, Ravelry: Child's Top-Down Henley, and Ravelry: Brick pattern by Clare Lee

Wednesday, June 25, 2014

How to Crochet Backwards

     Crocheting left-handed is really simple! Normally, crocheting is from right to left; when you crochet left-handed, you work from the left to the right. Once you know this, you can make any stitch (or pattern) you would like by simply reversing instructions!

     To create a foundation chain (this is the base of all things crocheted), make a slip knot around your hook and hold your hook in your left hand.


     Wrap your yarn around your hook from the back to the front.


     Pull your yarn through the slip knot. You have now chained one stitch! Keep doing this until you have the amount of stitches desired (I did ten)!


How to Single Crochet Left-Handed

     Chain one stitch to use as a turning chain (you will do this at the beginning of each row). Now, insert your crochet hook into the back loop of the second chain from your hook


     Wrap your yarn from the back to the front of your hook.


     Pull the yarn through one loop.


     Wrap the yarn again, and this time pull the yarn through both of the loops on your hook.


     You have now made one single crochet (abbreviated sc) stitch!


     Continue doing this across the row. When you reach the end of the row, chain one and turn the work. Keep making single crochet stitches with one minor difference; insert your hook underneath both loops of the chain.


     After a few rows, your work should look like this.


Sunday, June 15, 2014

How to Purl Backwards

     Purling backwards (also known as purling left-handed) is easy to learn and probably good to know. However, purling and knitting left-handed does complicate patterns; you'll have to follow instructions for rows backwards.
     To begin, cast on the amount of stitches desired. I did ten. Move the needle to your right hand.


     Pick up your other needle in your left hand. Now insert it behind the front loop and in front of your right-hand needle.


     Move your yarn to the front of your work.


     Wrap the yarn around your left-hand needle from the front to the back.


     Pull the wrapped yarn through the old stitch.


     Finally, pull the old stitch off of the right-hand needle.


     After several rows, your work will look like this.


     This pattern is called the Garter Stitch.

Saturday, May 31, 2014

Mending Magic!

     Well, it took a bit longer than I expected, but I finally did it.
   
     I have mended this entire blanket!

     It is definitely a resilient piece of work! It had so many holes that I was surprised that it survived without mending as long as it did!


     Doesn't it look fabulous?!! Don't answer that question. ;)

     If you would like to make a blanket similar to this, go to: Modern Granny Square Afghan, and Granny Square Throw

Wednesday, May 28, 2014

How to Knit Backwards

     Knitting backwards (also known as knitting left-handed) is surprisingly simple! And it is absolutely perfect for those of us who dislike turning the work to make a purl row!

     To begin, cast on ( I did ten stitches) and knit one row. DO NOT TURN THE WORK.


     Insert your left-hand needle into the first stitch (on your right-hand needle) and in front of the back loop.


     Wrap the yarn around your left-hand needle in a counterclockwise fashion.


     Pull the wrapped yarn through the stitch.


     Now pull the old stitch off of the right-hand needle.


     Continue doing this across the row. From now on, all you have to do is knit forwards and knit backwards in alternating rows and you'll get stockinette stitch!


Tuesday, May 20, 2014

How to Purl on a Loom

     Just like with regular knitting, purling on a loom is the exact opposite of knitting.

     To begin purling, hold your yarn beneath the stitch you wish to purl.


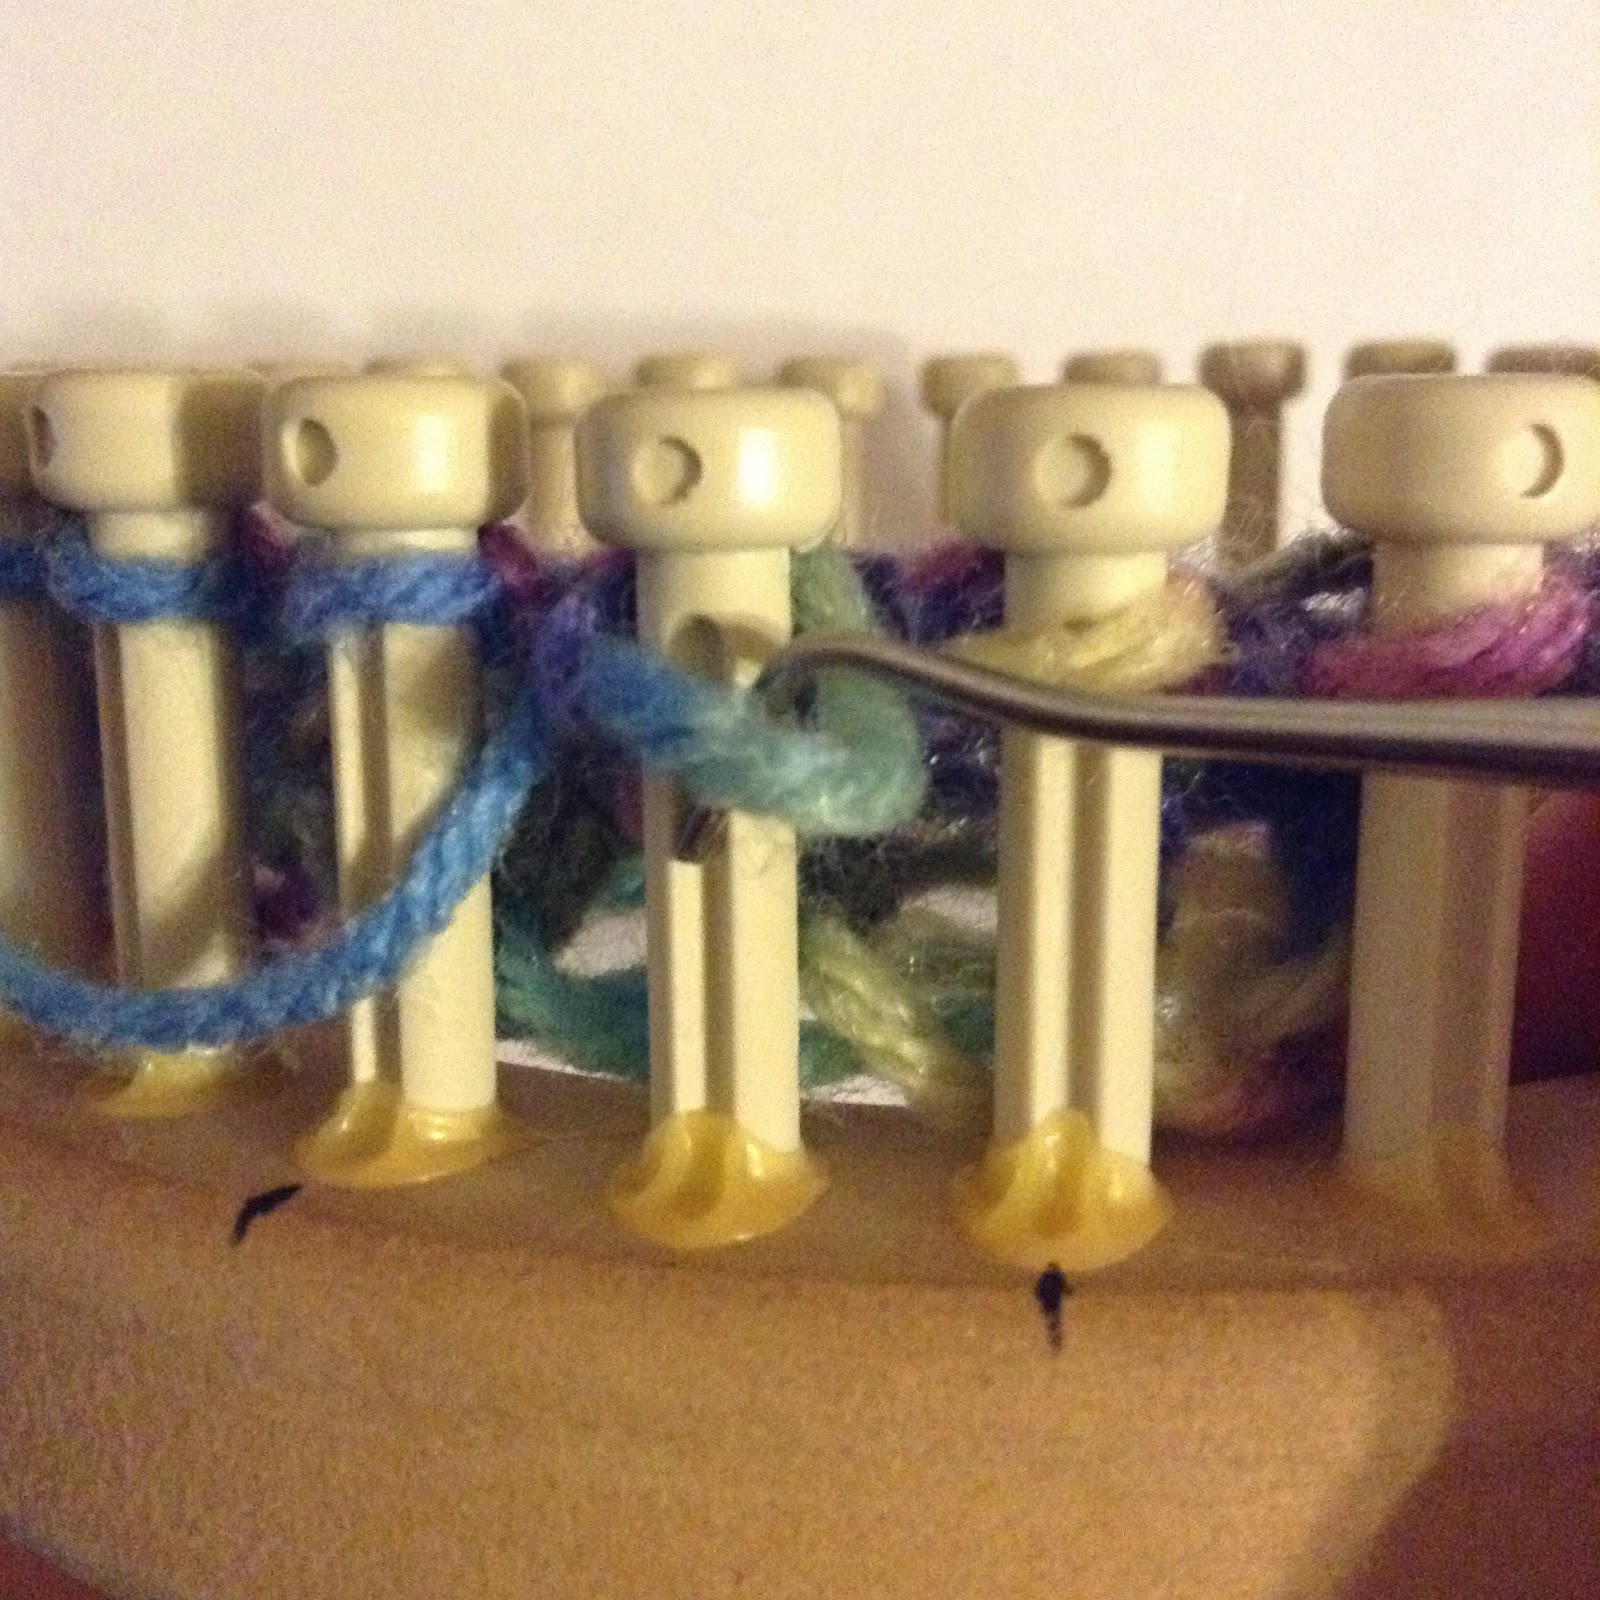
     Insert your hook through the top of the stitch and over the yarn.


     Pull the yarn through your stitch and pull the stitch off of the peg.


     Place your newly formed purl stitch onto the peg.


     Note: You can make patterns on your garment by using both the knit and purl stitch!

Monday, May 19, 2014

How to Knit on a Loom

     Knitting on a loom is incredibly easy! 

     First, you will need a loom and a hook (that usually comes with it).


To Cast On 
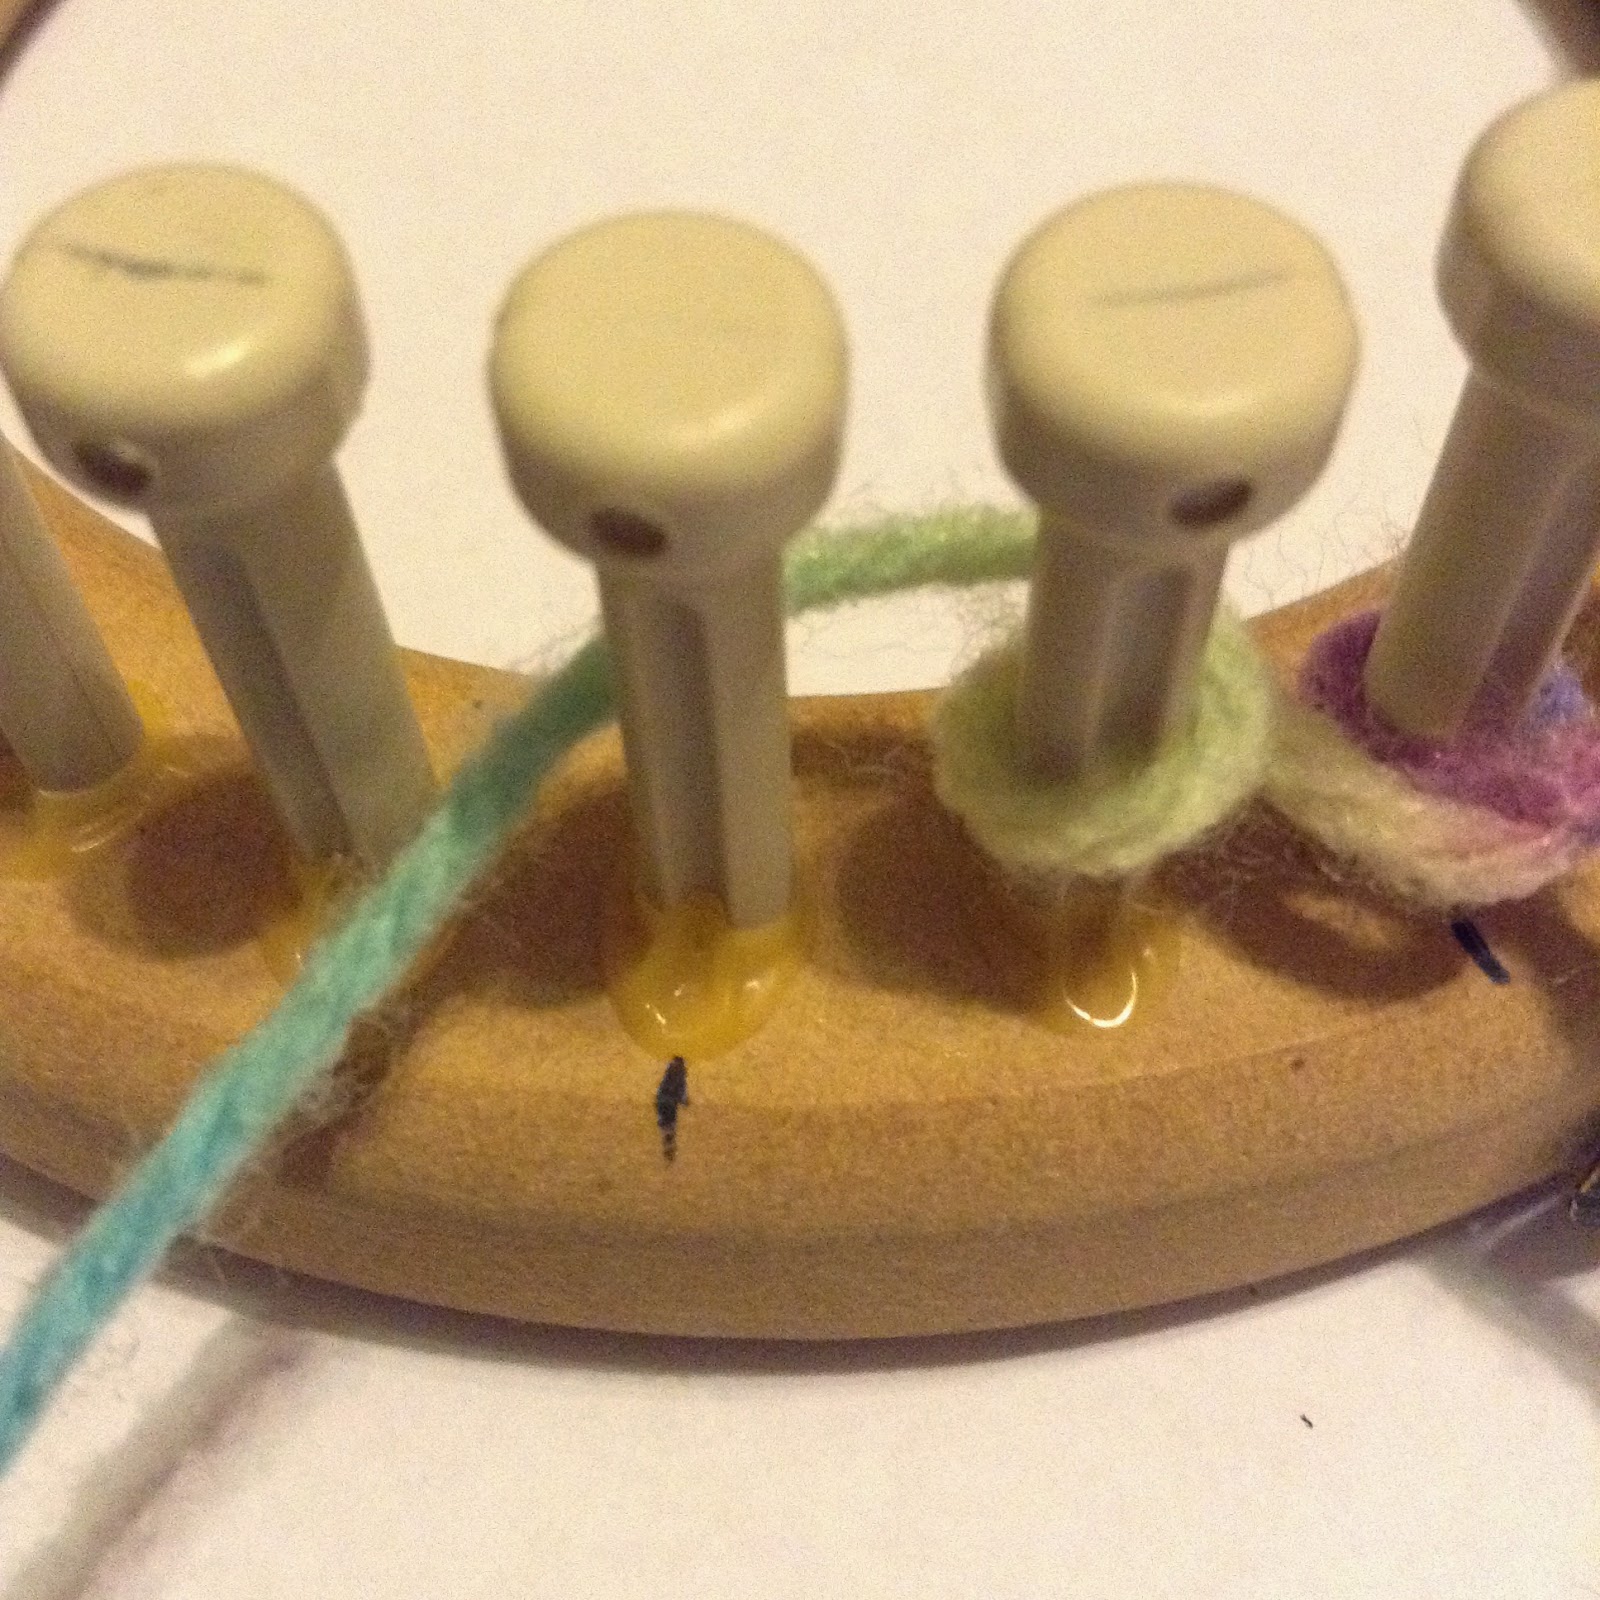
     Place a slip knot around the first peg on your loom. This is the first cast-on stitch.


     Move your yarn to the back of the second peg and in between the second and third pegs.


     Move your yarn around the front of the second peg to the back of the third peg.


     Repeat this across the round until you get to the slip knot.


How to Knit
     Place the yarn in front of the first peg and over your stitch.


     Insert your hook into the bottom of the stitch and over the yarn.


     Pull the yarn through the stitch.


     Pull your old stitch off of the peg and place your new stitch onto it.


     Your work should look like stockinette stitch.