Saturday, May 31, 2014

Mending Magic!

     Well, it took a bit longer than I expected, but I finally did it.
   
     I have mended this entire blanket!

     It is definitely a resilient piece of work! It had so many holes that I was surprised that it survived without mending as long as it did!


     Doesn't it look fabulous?!! Don't answer that question. ;)

     If you would like to make a blanket similar to this, go to: Modern Granny Square Afghan, and Granny Square Throw

Wednesday, May 28, 2014

How to Knit Backwards

     Knitting backwards (also known as knitting left-handed) is surprisingly simple! And it is absolutely perfect for those of us who dislike turning the work to make a purl row!

     To begin, cast on ( I did ten stitches) and knit one row. DO NOT TURN THE WORK.


     Insert your left-hand needle into the first stitch (on your right-hand needle) and in front of the back loop.


     Wrap the yarn around your left-hand needle in a counterclockwise fashion.


     Pull the wrapped yarn through the stitch.


     Now pull the old stitch off of the right-hand needle.


     Continue doing this across the row. From now on, all you have to do is knit forwards and knit backwards in alternating rows and you'll get stockinette stitch!


Tuesday, May 20, 2014

How to Purl on a Loom

     Just like with regular knitting, purling on a loom is the exact opposite of knitting.

     To begin purling, hold your yarn beneath the stitch you wish to purl.


     Insert your hook through the top of the stitch and over the yarn.


     Pull the yarn through your stitch and pull the stitch off of the peg.


     Place your newly formed purl stitch onto the peg.


     Note: You can make patterns on your garment by using both the knit and purl stitch!

Monday, May 19, 2014

How to Knit on a Loom

     Knitting on a loom is incredibly easy! 

     First, you will need a loom and a hook (that usually comes with it).


To Cast On 
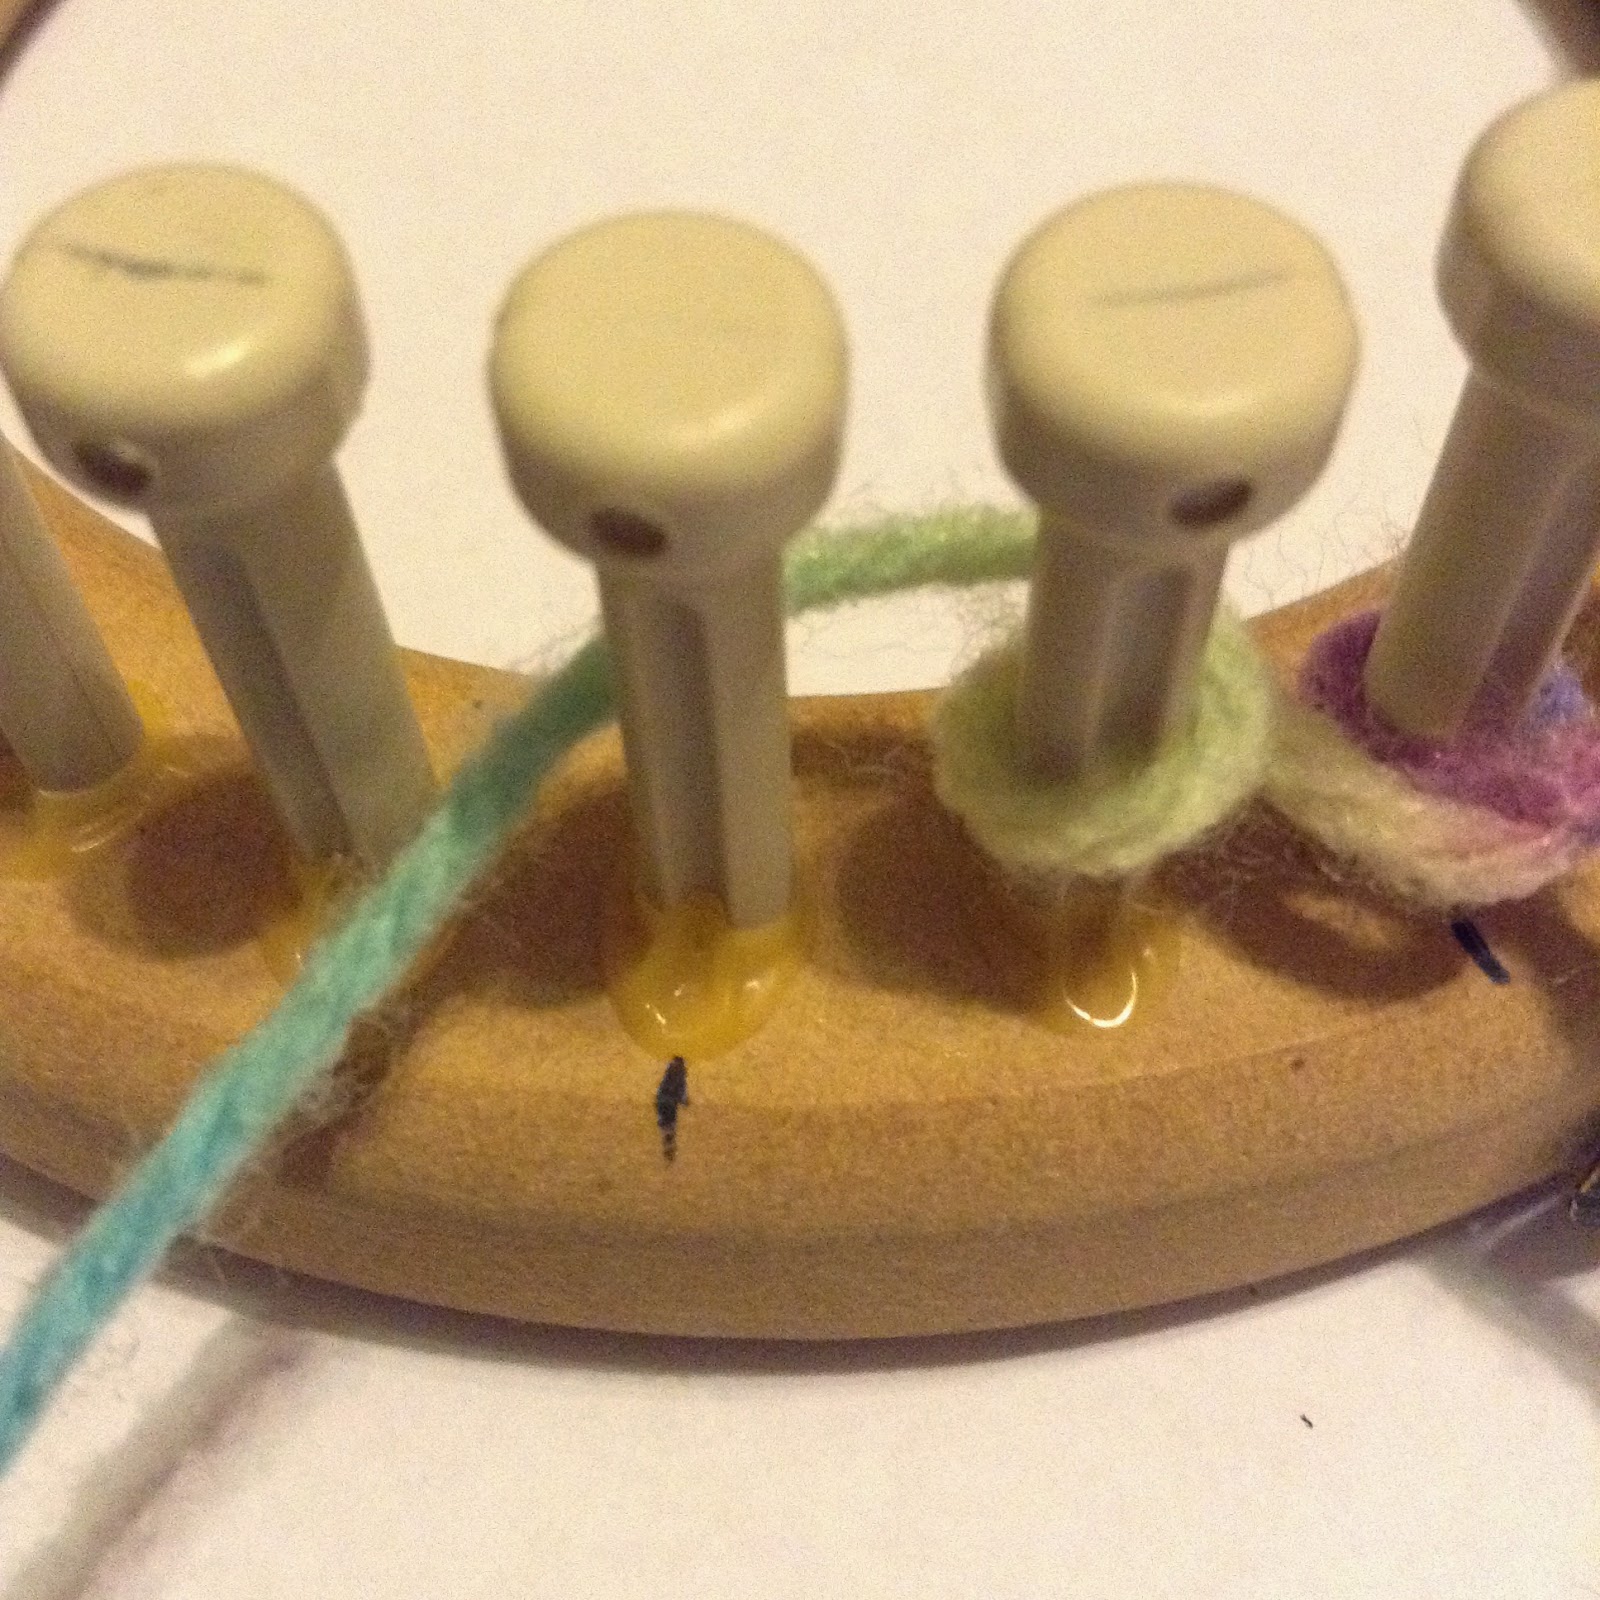
     Place a slip knot around the first peg on your loom. This is the first cast-on stitch.


     Move your yarn to the back of the second peg and in between the second and third pegs.


     Move your yarn around the front of the second peg to the back of the third peg.


     Repeat this across the round until you get to the slip knot.


How to Knit
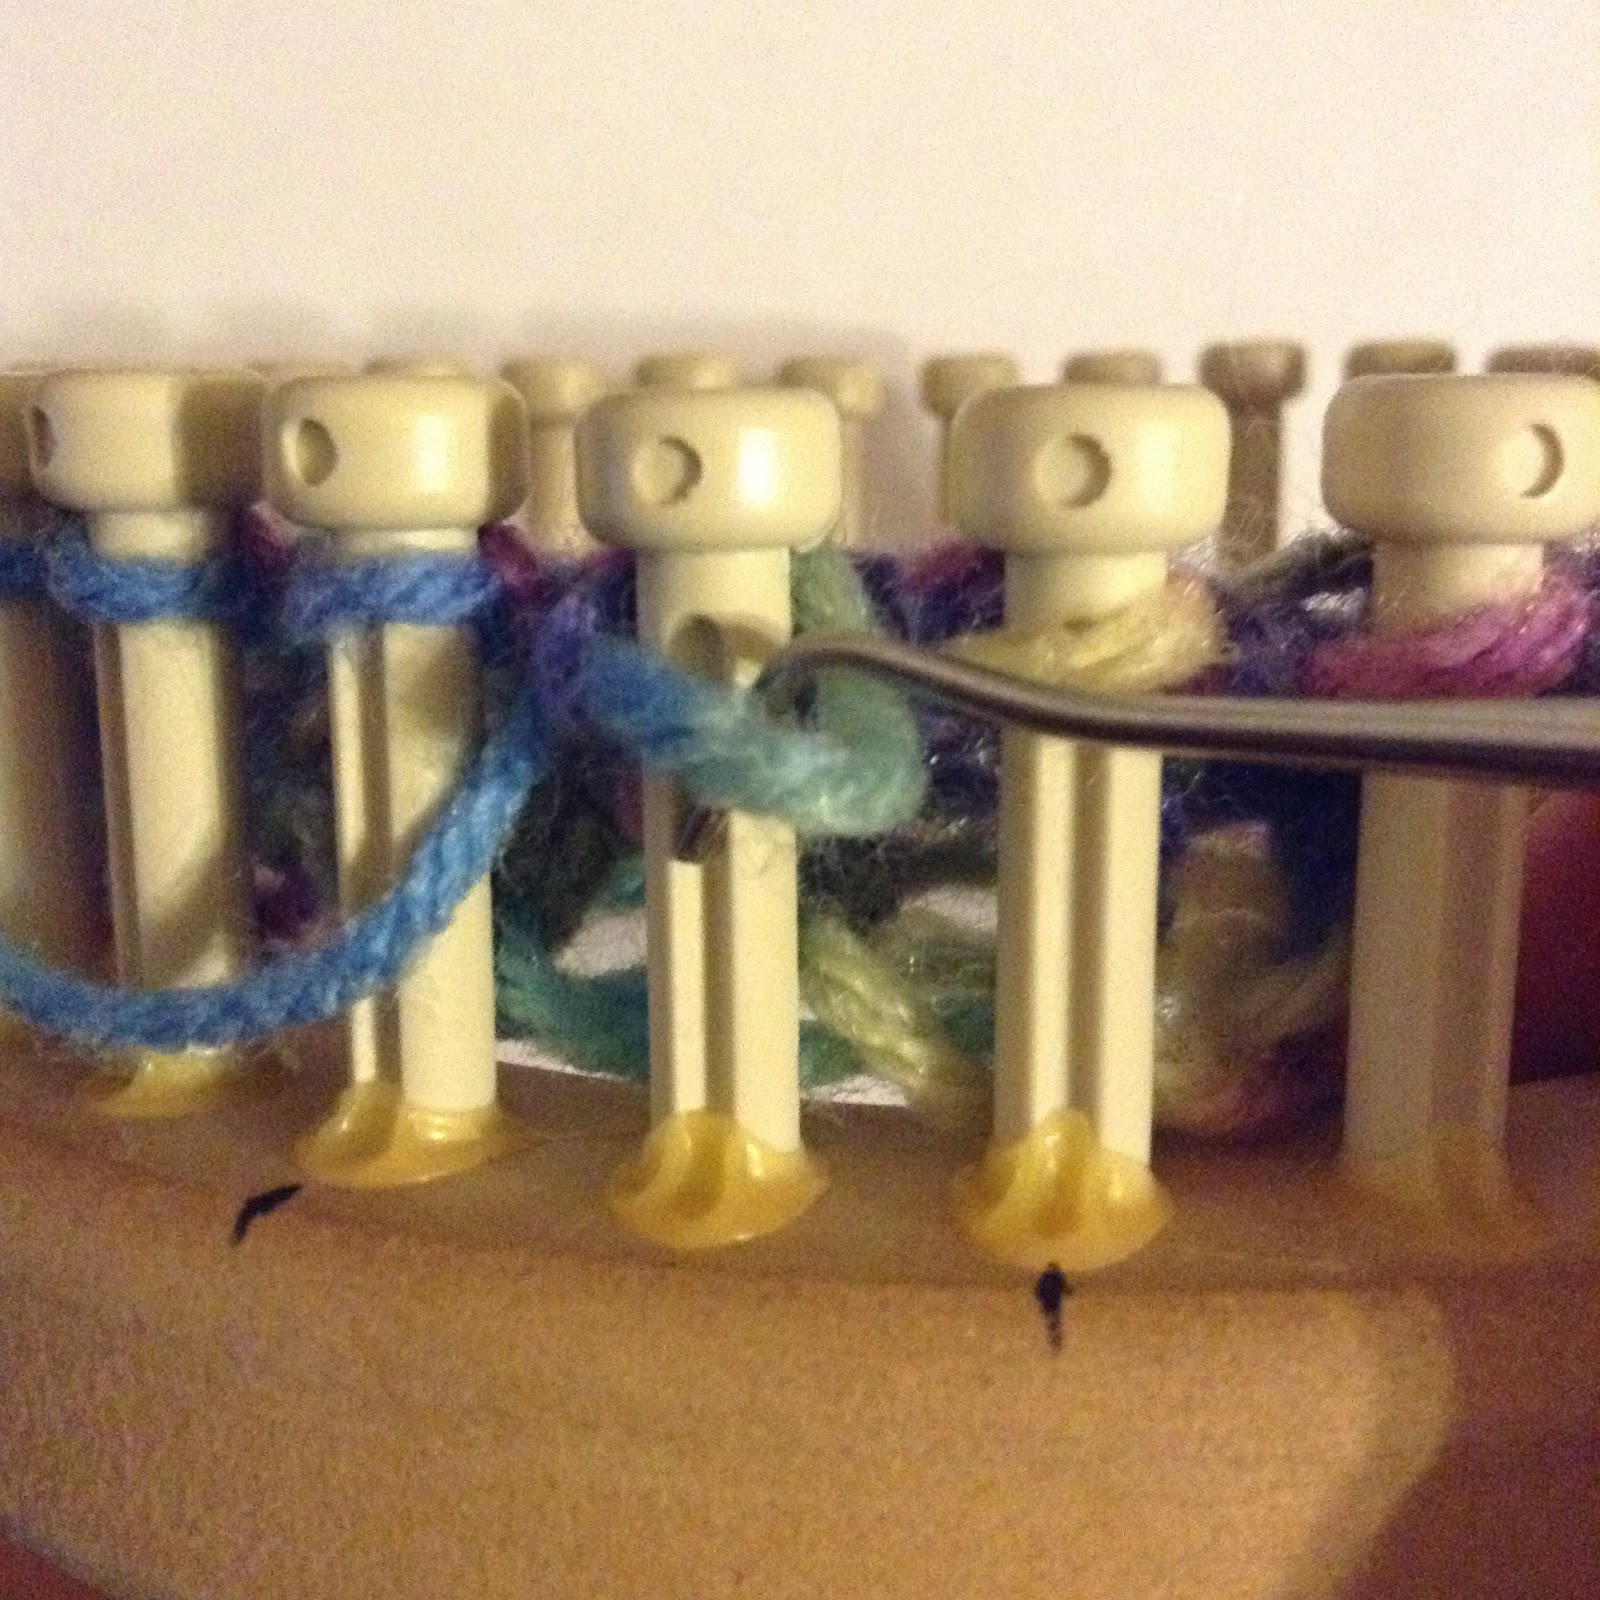
     Place the yarn in front of the first peg and over your stitch.


     Insert your hook into the bottom of the stitch and over the yarn.


     Pull the yarn through the stitch.


     Pull your old stitch off of the peg and place your new stitch onto it.


     Your work should look like stockinette stitch. 


Saturday, May 17, 2014

How to Purl: English Style

     Purling is basically the opposite of the knit stitch. If you've ever made garter stitch, you'll see a few rows of bumps. All of those bumps are the purl side of the work.

     To begin, cast on however many stitches you want. I did ten.


     Now, with your yarn in front, insert your right-hand needle into the middle of the first stitch on your left-hand needle.


     Hold the yarn in your right hand.


     Wrap the yarn counterclockwise around your right-hand needle.


     Pull the yarn through the stitch.


     Pull the stitch off of the left-hand needle.


     Congratulations! You have just learned how to purl English style! To learn how to purl Continental style, go to: At the Back of the Bookshelf: How to Purl: Continental Style.
     If you want, you can keep purling to create the garter stitch, or you can knit one row and purl the next (creating the stockinette stitch).

     The garter stitch...


     The stockinette stitch...

Tuesday, May 13, 2014

How to Knit: English Style

     To begin, cast on as you normally would. For instructions on the basic cast on, and how to knit continental style, go to: At the Back of the Bookshelf: How to Knit: Continental Style


     With your yarn in your right hand, insert your right-hand needle into the front of the first stitch on your left-hand needle.


     Wrap the yarn counterclockwise around your right-hand needle.


     Now pull the stitch off of your left-hand needle.


     Continue knitting across the row. 
     Repeat for several more rows and your work will look like this! This stitch pattern is called the Garter Stitch.


Sunday, May 11, 2014

How to: Entrelac

     Entrelac (pronounced in-tru-lak) is a pattern that looks like it is woven, but really is just strategically placed increases and decreases. And although it has a large amount of patterns to memorize, it is not very difficult to learn.
     There are a lot of different variations, but the basics are the same for each method.

     Before I even get started, you need to know that:
k means knit
p means purl
sl means slip (unless otherwise specified, slip means slip purlwise)
ssk means slip knitwise, slip knitwise, and knit them together
p2tog means purl two together
pfb means purl in the front and back of a stitch

     To begin, cast on a number divisible by eight and multiply it by however many triangles you want. I did twenty four stitches.
     Note: You don't have to have a number divisible by eight; you can have any number you like and modify the pattern.


Base Triangles
     To start making the first base triangle, slip one stitch (for simplicity, we'll slip the first stitch of each row) and knit one.


     Now, turn the work and sl1, then p1. Turn the work again.


     The rest of the instructions for base triangles are as follows:

     sl1, k2, turn,
     sl1, p2, turn,
     sl1, k3, turn,
     sl1, p3, turn,
     sl1, k4, turn,
     sl1, p4, turn,
     sl1, k5, turn,
     sl1, p5, turn,
     sl1, k6, turn,
     sl1, p6, turn,
     sl1, k7, DO NOT TURN.

     Your triangle should look like this.


     Repeat that pattern across the row. You should get a total of three triangles. Your triangles will curl a little bit.


     To begin the next round, you will need to make the
Left Triangle
     Notes: 1) The left and right triangle are part of the purl square row. 
               2)You may change colors here, if you like.

     To start making the left triangle, slip one stitch and purl the next.


     Turn the work and slip one stitch. Knit the next and turn the work.


     The rest of the pattern goes like this:

     pfb, p2tog, turn,
     sl1, k2, turn,
     pfb, p1, p2tog, turn,
     sl1, k3, turn,
     pfb, p2, p2tog, turn,
     sl1, k4, turn,
     pfb, p3, p2tog, turn,
     sl1, k5, turn,
     pfb, p4, p2tog, turn,
     sl1, k6, turn,
     pfb, p5, p2tog, turn,
     sl1, k7, DO NOT TURN.

     Your left triangle will look like this.


     Until you reach your last base triangle, you will make 
Purl Squares

     Along the edge of your base triangle, pick up eight stitches.


     The rest of the pattern goes like this:
     
     turn, sl1, k7, 
     turn, sl1, p6, p2tog

     Repeat it until the base triangle you're p2toging into no longer has any stitches. Now, repeat it across the row (only once more if you cast on what I did). 


     To finish the row, you will need to make a 
Right Triangle

     Pick up 8 stitches and turn the work to the right side.


     Follow this pattern:

     sl1, p5, p2tog, turn
     sl1, k6, turn,
     sl1, p4, p2tog, turn,
     sl1, k5, turn,
     sl1, p3, p2tog, turn,
     sl1, k4, turn,
     sl1, p2, p2tog, turn,
     sl1, k3, turn,
     sl1, p1, p2tog, turn,
     sl1, k2, turn,
     sl1, p2tog, turn,
     sl1, k1, turn,
     p2tog.

     Your work will now look like this.


     You can either make the top triangles and finish your work now, or you can continue onto the knit squares. The top triangles can only be made after a row of purl squares.

Knit Squares

     On the right side of the work, slip the remaining stitch from the right triangle and pick up 7 stitches (when picking up from your squares, pick up eight). 


     Here is the pattern:

     turn, sl1, p7, turn,
     sl1, k6, ssk,

     Repeat this pattern until all eight stitches from the purl square have been worked into your knit square. After that, repeat it to the end of the row.


Before you do the top triangles, you must make a purl square row.

Top Triangles

     Slip the stitch on your left-hand needle (from the right triangle) to your right-hand needle and pick up seven stitches.


     Purl eight and turn your work.

     The rest of the instructions are as follows:

     k7, ssk, turn,
     p6, p2tog, turn,
     k6, ssk, turn,
     p5,p2tog, turn,
     k5, ssk, turn,
     p4, p2tog, turn,
     k4, ssk, turn,
     p3, p2tog, turn,
     k3, ssk, turn,
     p2, p2tog, turn,
     k2, ssk, turn,
     p1, p2tog, turn,
     k1, ssk, turn,
     p2tog, turn,
     ssk, turn.

     Repeat this until the end of the row. You have completed your Entrelac swatch!

     The front...

     ...and the back.