Tuesday, February 25, 2014

How to Duplicate Stitch

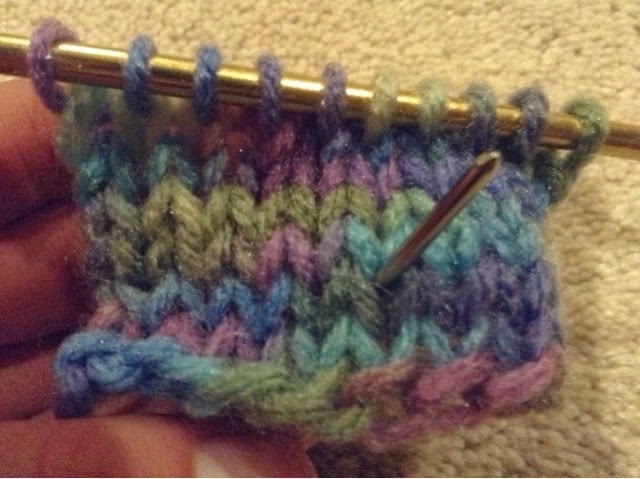
     Duplicate stitch is very useful to know! With it, you can make patterns in your garment after you make it- unlike intarsia where you make patterns as you knit. But more of that later.

     For duplicate stitch you will need a large-eyed needle and a long piece of yarn (if your yarn isn't long enough, don't worry; you can always tie another piece to it).

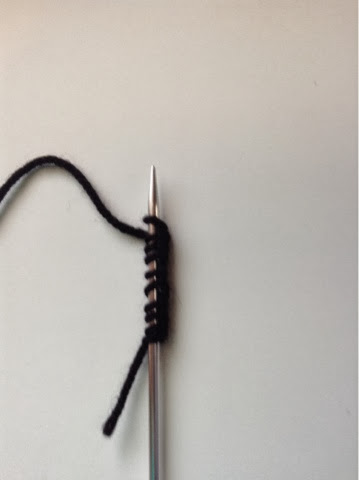
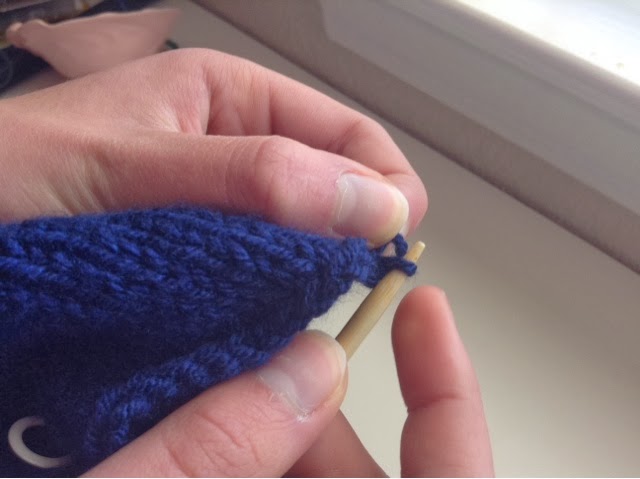
     To begin, make a slip knot and thread the short tail through the loop.


     Now, thread the yarn through the eye of the needle.


     Push your needle, toward yourself, through the stitch below the one you wish to cover.


     Pull the yarn through; now, stick the needle behind the stitch above the one you wish to cover and pull the yarn through (but not too tightly).


     Push your needle back into the stitch below the one you're working on and pull the yarn through.


     You have now made a duplicate stitch! Continue until the end of the pattern.


Monday, February 24, 2014

How to Provisionally Cast On

Note:
     Provisional cast on is temporary; it is used when you have a specific idea for the bottom of a garment, or haven't decided what you want to do with it [the bottom of the garment] yet.

     To provisionally cast on, you will need:
1) a skein of yarn
2) waste yarn (a long strand of yarn)
3) knitting needles (two pair about the same size)
4) a crochet hook, preferably the same size as the knitting needles

     First, tie a slip knot around your crochet hook with your waste yarn.


     Then, place your crochet hook in front of one of your knitting needles.


     Next, wrap the yarn around the crochet hook as if to knit.


     Pull the yarn through the stitch on the crochet hook. You have now cast on one stitch!


     Continue casting on until you have one less stitch than required.
     Slip the stitch on the crochet hook onto your knitting needle, leaving a reasonably long tail.


     Insert your right-hand knitting needle into the first stitch (and not letting the stitch get loose). Knit with your skein of yarn and leave a long strand so that the stitch won't undo.


     Knit until desired length.


     Then, you can use your crochet hook or fingers, slowly pull loose your cast on stitches and pick up the resulting loops.


     Continue until the end of the round; you can now bind off however you would like using your skein of yarn!


To All of the Campers

     While browsing on the internet a few weeks ago, I came across a Camp Half-Blood knitting pattern. Lately, I have been rather crazy about the Percy Jackson series so this was probably a bad thing. ;)
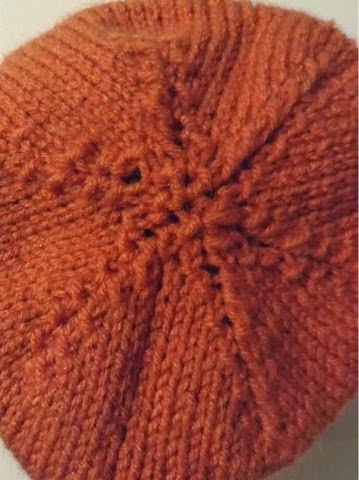
     Here is the result of two days' labor!


     From the front-

     
     -to the top!

     If you would like to make this hat, go to: Ravelry: Percy Jackson's Camp Half~Blood Beanie pattern by Nancy Fry

Sunday, February 23, 2014

How to Knit in the Round

How to Knit with Circular Knitting Needles

     Cast on as many stitches as necessary.


     Without twisting your stitches, tightly knit the first stitch you cast on; this is important because if you don't, the place between the stitches will be too loose and it will look bad. :)


     Place a stitch marker so that you can find the beginning of the round again. If you don't have stitch markers, safety pins are good substitutes.
How to Knit with Double Pointed Needles

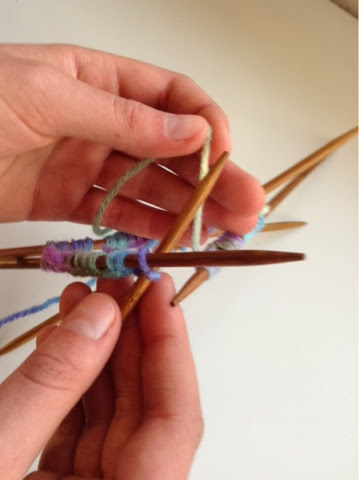
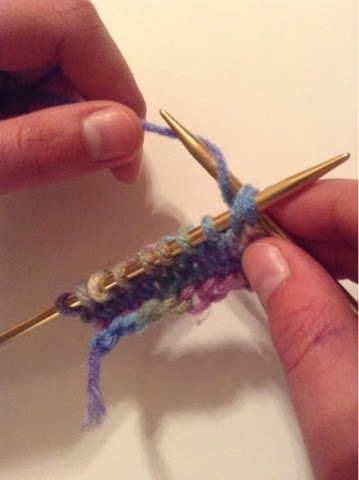
     Cast on all of your stitches onto one needle.


     Evenly distribute the stitches between three or four needles by slipping them purl-wise.


     Being sure not to twist your stitches ( which is pretty hard not to do with DPNs), pick up your remaining needle and, again, tightly knit the first stitch.


     Place a stitch marker to show the beginning of the round.


Saturday, February 15, 2014

How to Bind Off

     Binding off (abbreviated BO--awesome right?), is almost exactly the same as decreasing. The only difference is you don't slip the stitch, you knit it (or purl, depending on what side of the work you're binding off).

     Knit the first stitch on your left-hand needle. Do the same with the second stitch.


     Both of the stitches are now on your right-hand needle.


     Pull the bottom stitch over the top stitch (you should only have one stitch now).


     Repeat (until the end of the row) with one minor change: only knit one stitch onto the right-hand needle before pulling the bottom stitch over the top stitch.

Saturday, February 8, 2014

Harry Potter Scarf!!!

     I finally finished Zachary's Prisoner of Azkaban scarf!!!! It only took me 23 days to knit 50, 400 stitches! A long time, I know, but I am very pleased with the results!


     For the pattern to this scarf, go to: atypically.knit

How to Decrease

     Move the first stitch off of the left-hand needle onto the right-hand needle as if to knit.


     Then, do the same with the second stitch.


     Insert the left-hand needle into the stitches purl-wise.


     Wrap the yarn from back to front of the right-hand needle (as seen above). Pull the yarn through both of the stitches (therefore knitting them together) and you will have one stitch on your right-hand needle instead of two.
     This is abbreviated SSK (meaning slip, slip, knit).


Wednesday, February 5, 2014

How to Increase Stitches

     Place your right-hand needle into the front of the first stitch on your left-hand needle and do a knit stitch. But DO NOT pull the stitch off of the left-hand needle.


     Insert the right-hand needle into the back of the stitch. 


     Wrap the yarn from the back of the right-hand needle to the front and pull through the stitch.


     Pull the stitch off of the left-hand needle. You should have two stitches on your right-hand needle. 


     This swatch has been increased from ten stitches to twenty.


 Boring Fact!
This method of increasing is often abbreviated kfb (meaning knit front and back).

Sunday, February 2, 2014

How to Purl: Continental Style

     With the yarn in front, insert your right-hand needle into the back of the first stitch on the left-hand needle. (For instructions on how to do a basic cast on, see my post How to Knit: Continental Style)


     Wrap the yarn from the back of the right-hand needle to the front.


     Pull the yarn through the stitch.


     Pull the stitch off the left-hand needle and you have made a purl stitch!


     The purl stitch is the opposite side of the knit stitch, so if you purl several rows you will still get garter stitch.
     If you knit one row and purl the next, you will get stockinette stitch (see below). Picture one is the knit side of the work, the second picture is the purled side.