Granny squares are most popular when they are joined together as a blanket, although you could make a hat or a sweater with them.
They are also probably the most basic thing you can learn with crocheting... and I completely forgot about them until just recently. Oops. *grin*
To begin, chain six.

Join the first stitch to the sixth with a slip stitch.

Chain three. This will count as your first double crochet stitch.

Double crochet two stitches into the middle of the ring and chain two.


Make three double crochet into the ring and chain two. Do this a total of three times.

Join your chain two to the top of your chain three with a slip stitch.

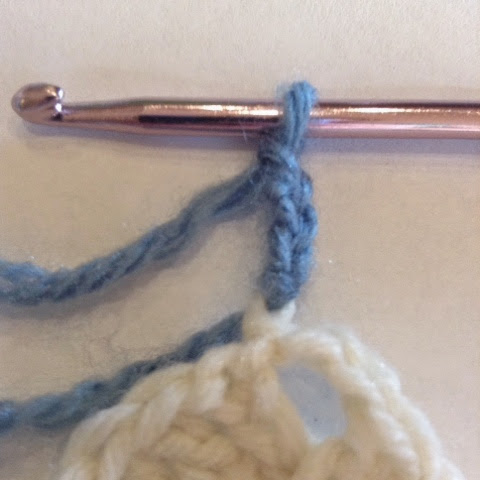
For the next row, join a new color by making a slip knot around your hook and pulling it through the white stitch.


Chain three and double crochet two into the gap between bunches. Like before, your chain three counts as a double crochet stitch.

*Chain two over the crochet bunch.

Make three double crochet into the corner and chain three.

Make three more double crochet into the same gap as your previous stitches.

Repeat from * until you reach the end of the round.

Chain three and join it at the top of the first chain three with a slip stitch.


Join a new color the exact same way as the previous row, double crochet two, and chain two.

Double crochet three into the gap between the bunches and chain two.

Continue like the previous row, making three double crochet into the gap(s) between the bunches for as many rows as you would like.
You have just completed a granny square!

No comments:
Post a Comment